Tutorial NITOS testbed
Selection of node
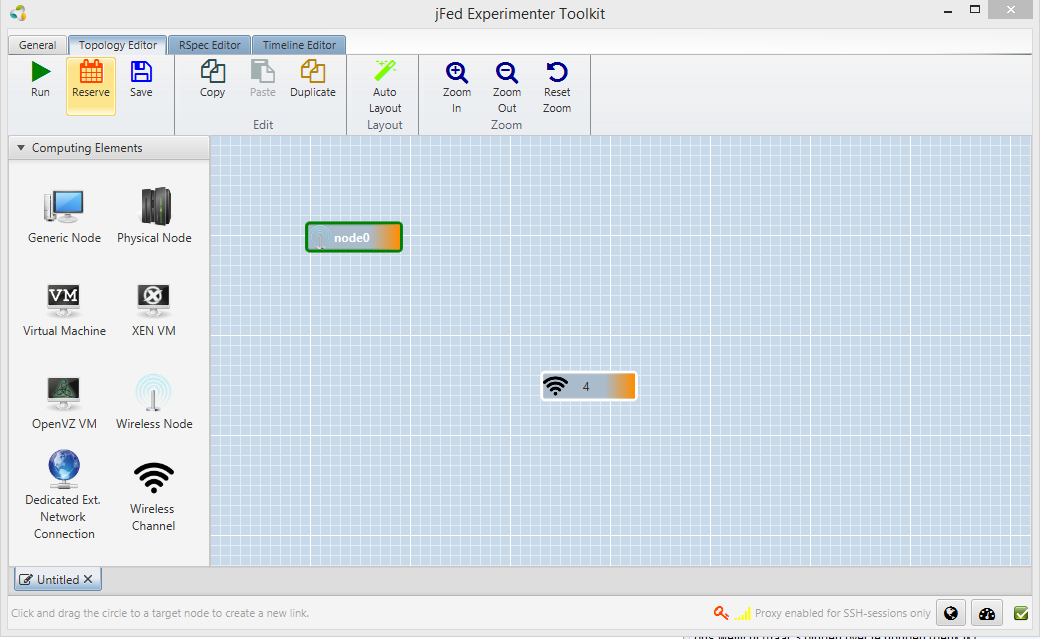
In jFed, drag a Wireless Node icon on the canvas, double click the icon, and select NITOS as a testbed, and then select the specific node from the list or by clicking
the map icon (red marker at the right). You see that you can also drag a Wireless Channel on the canvas where you can register a specific channel that you want to reserve (note:
this is a gentlemen’s agreement between users that you only use the channels that you reserve).
By double clicking the wireless node icon, you can chose the testbed and a specific node.
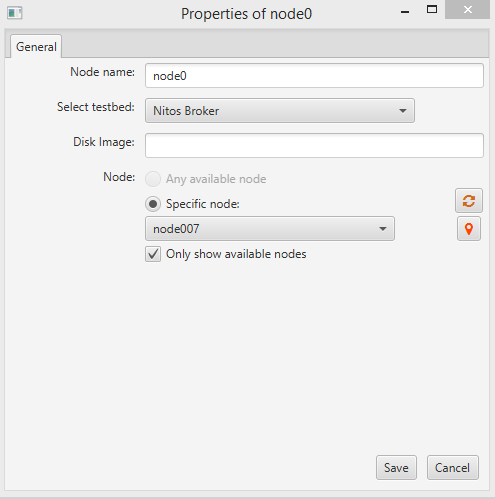
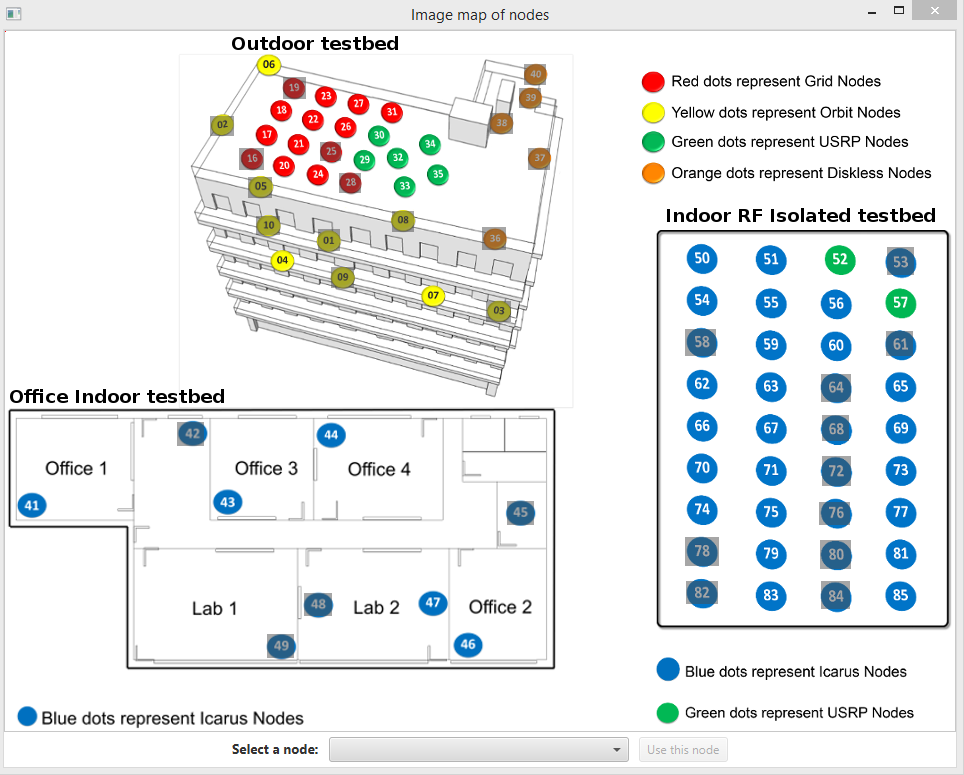
If you click the right marker besides Specific node you will see a map of all nodes and you can select them there, e.g. for Nitos:
Reservation of node
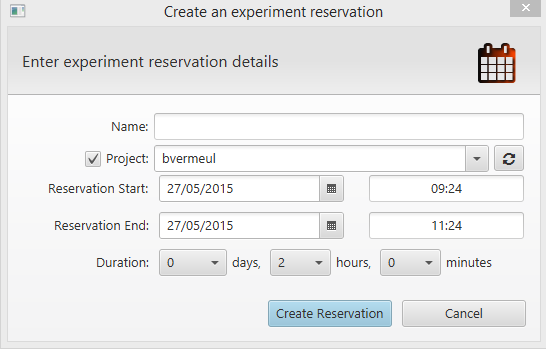
After you have selected all the nodes and channels you want to use, you can make a reservation, by clicking the Reserve button at the top of jFed. This will show you this dialog box where you can fill in the right parameters.
Configuring node
For NITOS, if your reservation is running (during the period you had selected) you can double click the node in jFed to login on the gateway of the respective testbed. From that gateway you need to use OMF commands to load images on the nodes.
Basic image for NITOS:
omf load -i baseline.ndz -t omf.nitos.node016,omf.nitos.node017
(of course, fill in the node names according to your reservation)
You can then log in as root with no password:
ssh root@node016
For more detailed OMF commands, see http://nitlab.inf.uth.gr/NITlab/index.php/testbed/instructions/basic-tutorial.